Rigging and Creature FX
Tentacle creation

In this lesson I had to create a tentacle so I added in a cube increased its height and smoothed it to create a tentacle like shape.

I then brought in some joints by going into the rigging section and clicking on skeleton - create joint.
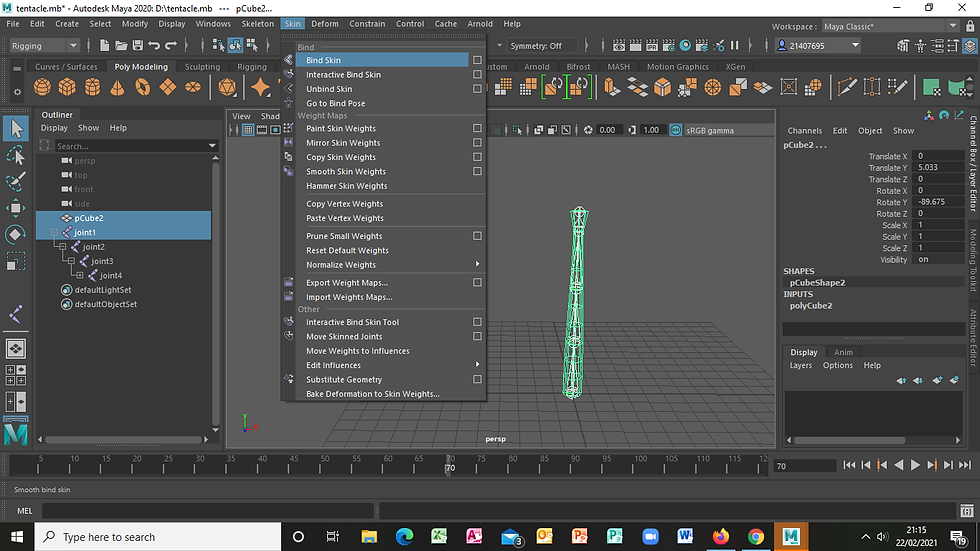
When my joints was placed on properly I went to skin and clicked on Bind Skin. This connected my joints and mesh together.

I knew the skin was binded properly because when I moved the joints the mesh also moved.

The next step shows me adding in controls each being parented to one another and the joints. I also orinted the joints so the controls can control the tentecle at each of the joints.

I then added in an expression from the expression editor menu to make the tentacle move automatically in different angles to create more believability that it was a tentacle.
This is my moving tentacle.
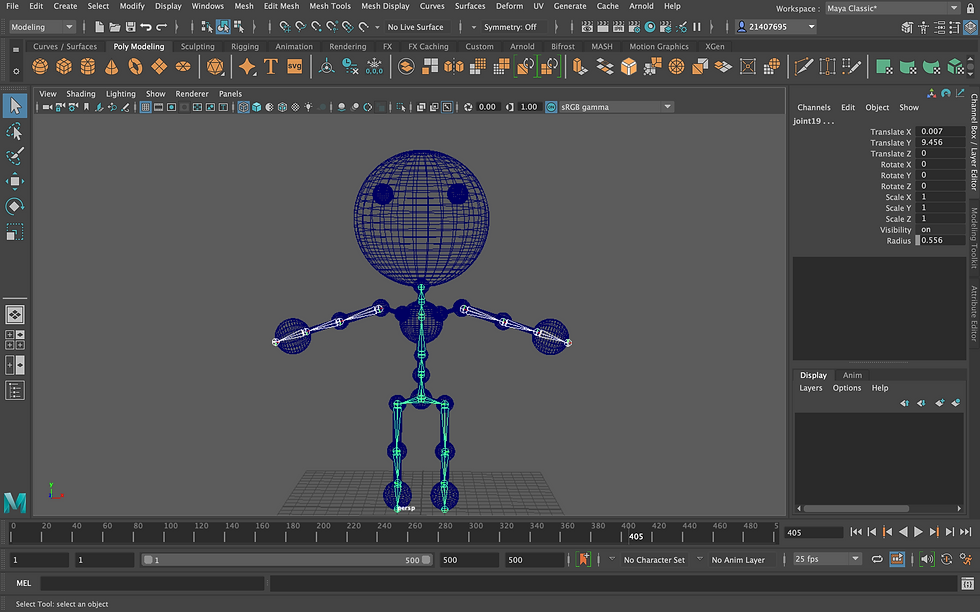
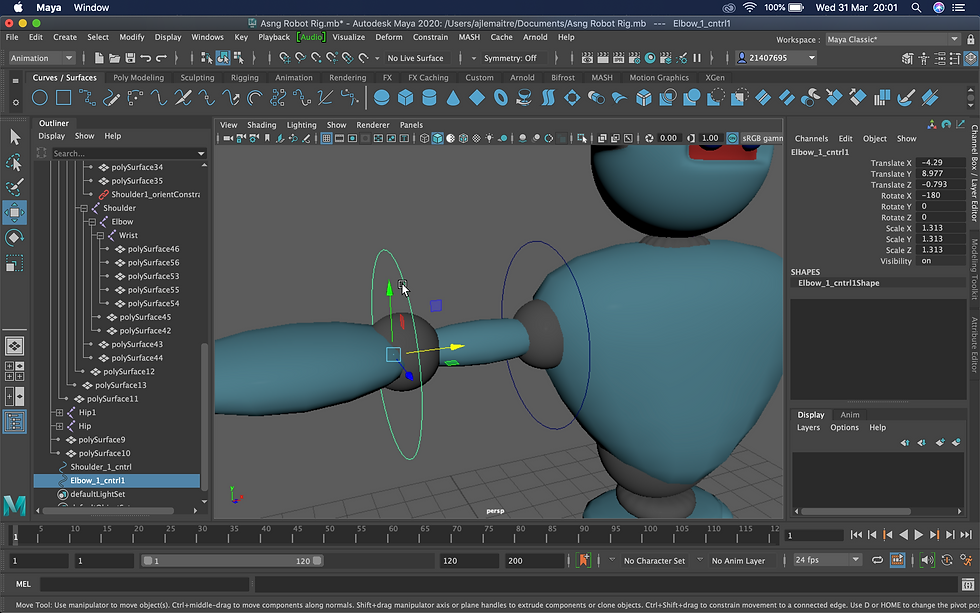
Robot joint creation

I began by importing the downloaded robot rig into maya.

I then went into wireframe mode and clicked on create joints from the rigging section. As shown in the image I started to place my joints for the robots arm.
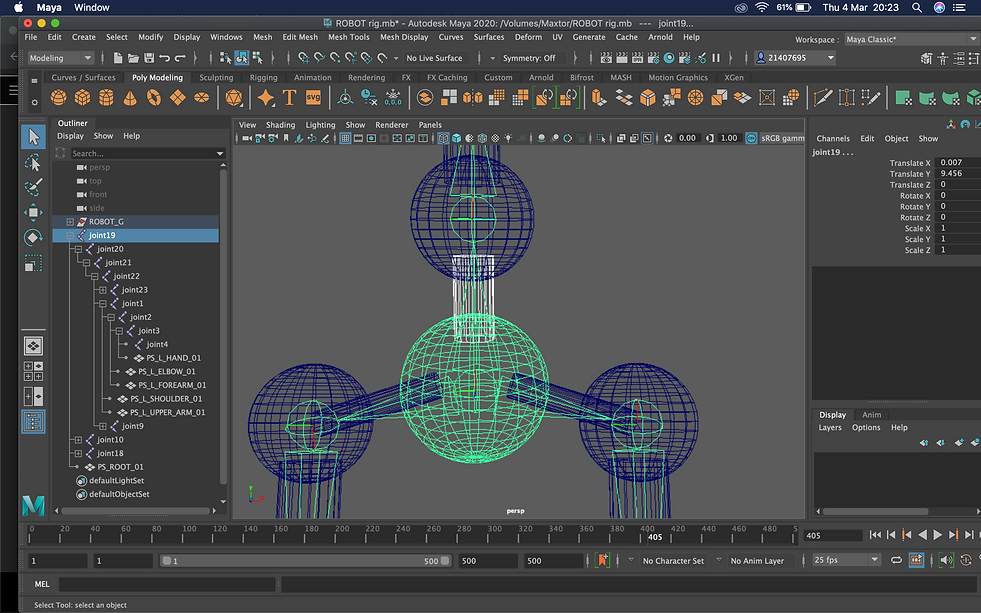
Once I finished placing the joints I went to mirror joints and my joints were succesfully mirrored from left to right.

I then connected my joints from the mid spine to each of my arms. This was done by clicking and pressing the shift key along with P.
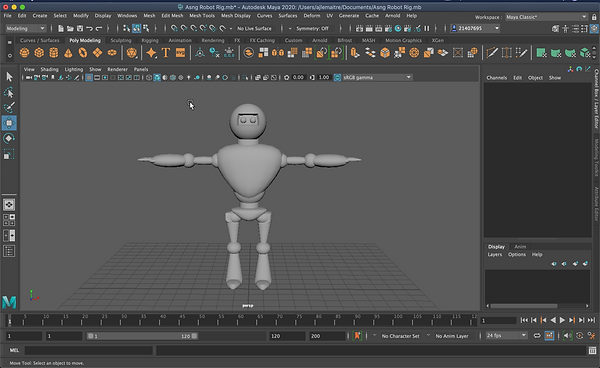
The next step shows me parenting the mesh to the joints I placed on the robot. This will make sure my joints are connected properly and move along with the rig.

Once all my joints were parented to mesh of the robot I tested it to see if it worked correctly.
When tested my joints successfully moved along with the mesh.
Assignment 1 - Mechanical rig creation


I began to model my robot by extruding and enlarging a range of poly shapes to create the body and the robot.


I then started adding joints to the robot and the images show me adding a spine, arm and leg joint.

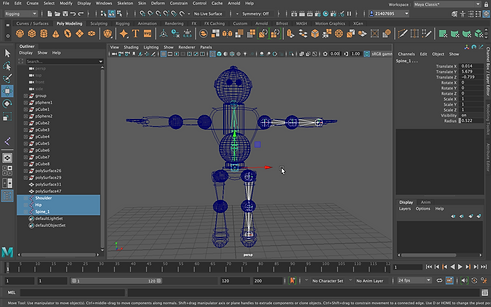


The joints then had to be mirrored so I mirrored the joints from the right side onto the left.

I now connected all the joints together by clicking on each of the joints and pressing 'Shift P'

Once my joint was properly connected. I now had to parent the mesh to all the joints. This was done by Shift clicking the mesh and the joints and pressing P.
To make it easier to control the model particularly around the joints, I added in the Nurbe Circle from the Curves/ surfaces menu. It was then parented to each of the joints selected so it can work as a control for the joint.
This is me testing out the controls to make sure they are working for each selected joint.
Assignment 2 - quadruped rig
For Assignment 2 I decided to model and rig a quadruped animal and the animal I chose to rig and model was a crocodile.


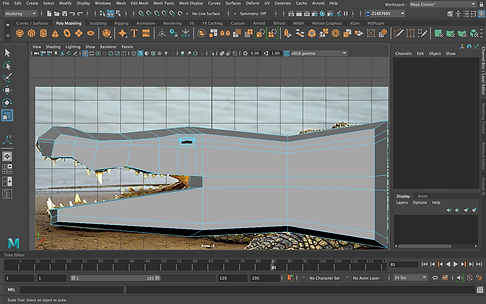
The above images shows me modelling the head of the crocodile using the reference image imported into maya.

Once I finished the head I began modelling the body so I brought in a new reference image to use.

The next step shows me modelling the legs of the crocodile.
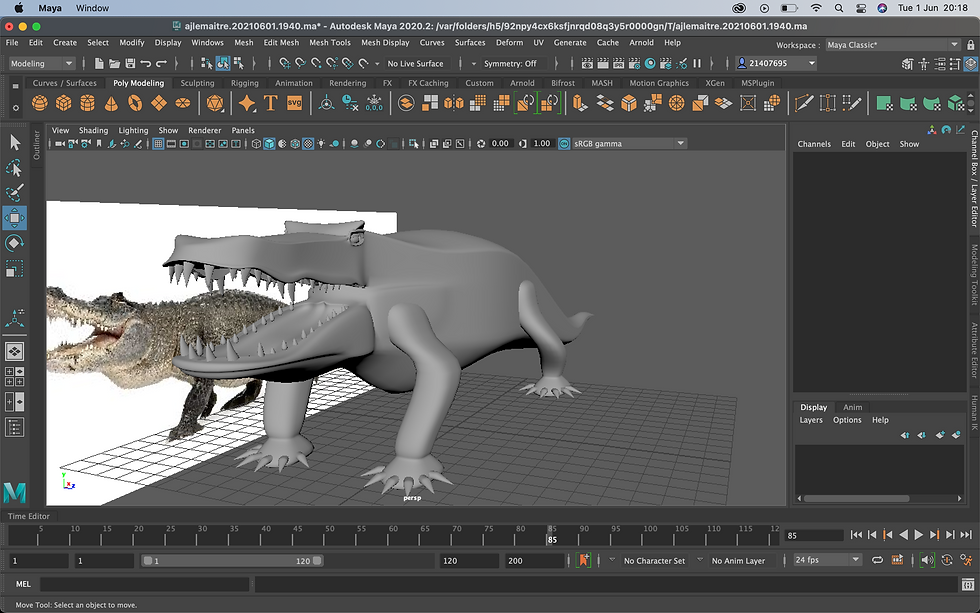
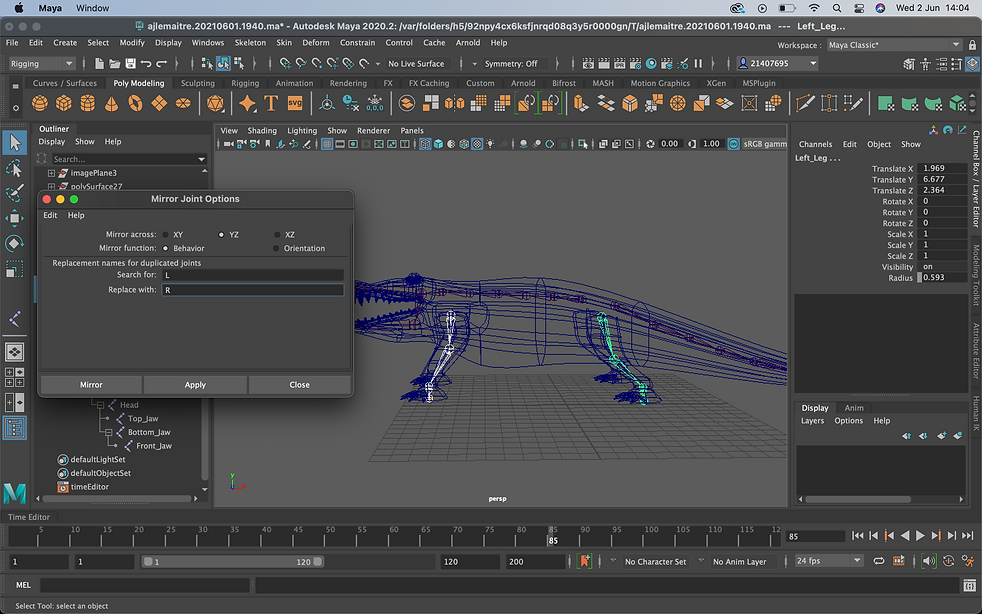
I then mirrored the two legs from left to right and once I was done with the modelling of the croc I was now ready to rig it.
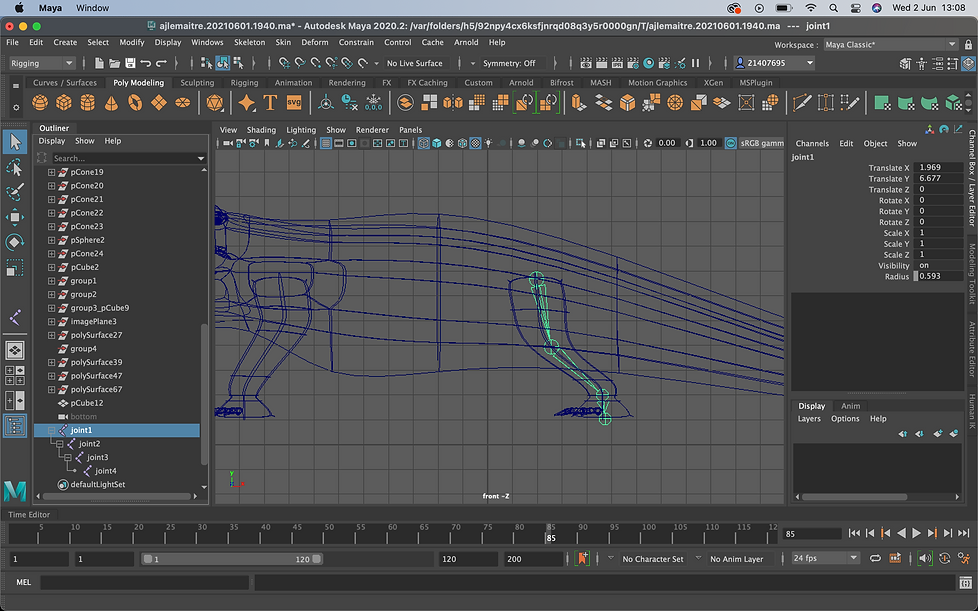
I went to rigging - skeleton and create joints and began adding them in which was placed on the back leg of the crocodile.
I continued by creating each joint for the tail, body, head and jaw, naming them through the outliner.

Once all my joints were connected, named and placed properly I then went to skin and clicked on bind skin. This connected my rigged skeleton to the crocodile mesh.

However I needed to create controls for to make it easier to control so I brought in a Nurbe circle and I parented it to each of the joints of the skeleton.
I then clicked on the control and shift clicked on the joints and went to Contrain - orient joints. This allowed me to use the control to move my joints along with the mesh around on the crocodile.

This is an image of me adding all the controls for the crocodile.
This is a short clip of me testing the tail control.
This is all my oriented controls for my crocodile rig working and moving each joint.