Environmental VFX
Bullet Rigid Bodies
Dominoes

I began by adding and scaling a poly cube to create a dominoe like shape. I then clicked on the cube and went to duplicate special increasing the amount of them.

With all of them selected I went to the Bullet menu from the FX section and selected apply to create a rigid body.

A plane was added to the scene and I applied a passive rigid body to it along with making it static.
Once that was done in the bullet rigid body shape attribute menu I changed the amount of the initial velocity creating the falling dominoes effect.
Brick wall smash
This is also another example of a rigid body creation showing the effects of a ball hitting a wall.
NCloth
Cloth fall creation

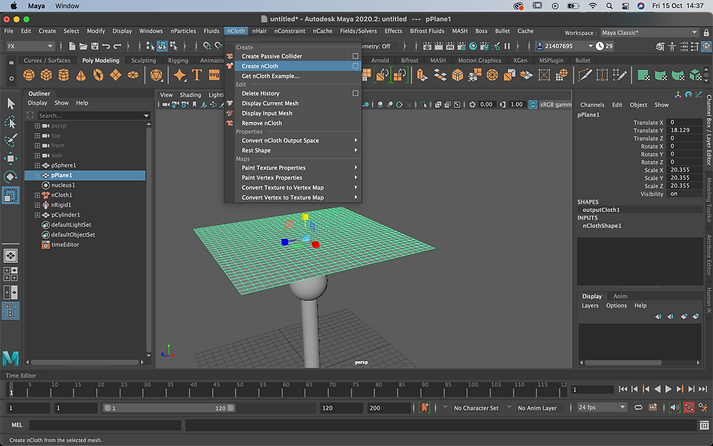
I firstly created a plane and clicked on create nCloth within the FX menu.
Now that the plane was a Ncloth I had to make it interact with sphere shape bellow so I clicked on the sphere and selected create passive collider.


I then edited the effects of the plane within the collisions menu for nCloth shape 1.
When played the Ncloth plane successfully interacted with the sphere by landing on top of it.

Flag creation

To create a flag I added in a plane, increased the subdivisions and rotated it 90 in the X axis.
An Ncloth was then applied to it shown it the video.

I then created a cyclinder which will be the flags pole and connected all the vertices selected from the plane to the pole.
This was done when selecting point to surface from the nConstraint menu.

When connected I started to play around with the flags animation from the nucleus menu. This allowed me to edit the wind speeds creating stronger blow force on the flag and even change the direction of it form wind direction.
Assignment 1 Bullet Rigid bodies - destruction and Ncloth
Bullet Rigid bodies

I began by creating a wrecking ball using a the torus as the chains and a poly sphere for the ball.
With all the created wrecking ball selected, I the went to Bullet and created an active rigid body.
I then selected on the top chain from the wrecking ball to make it swing. This was done by changing the mass to 0specifically for that top chain.
A series o block was created as this will be the wall for the wrecking ball to smash into.
The blocks was set as an Active rigid body for it to collide with the wrecking ball. The mass of them was also lowered to create a greater effect.
Ncloth
To create a curtain a created a plane, changed the shape and increase its subdivisions. I then clicked on create ncloth create tha curtain motion.


The curtain was then connected to the above pole through point to surface.
Creases was added to the curtain by decreasing the size of the pole. I also eddited the attributes of the curtain from the nucleas menu to create a better effect.
Nparticles


Maya Fluids
Flame creation


Assignment 2 - Three scenarios
Natural - swimming pool

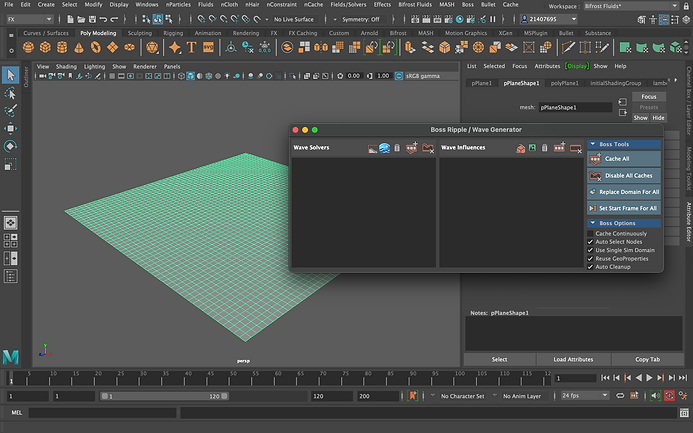
I began by creating a plane within Maya with the width and height being increased to 50 subdivisions. This would be essential for the performance of the water as it will provide more waves when converted.
After that I changed the Workspace menu from Maya classic to Bifrost fluids giving me easier access to the Bifrost Ocean Simulator System (Boss). Once clicking Boss the spectral wave button was then clicked converting the plane into a fluid.


When I clicked on the spectral wave button to convert the fluid it automatically opened up the Boss Attribute editor. This attribute editor is useful because it allows you to create the type of water that you want after editing by simply increasing or decreasing the number of attributes.
For example, one attribute shown within Boss is the wind attribute and if you wanted to create stronger waves in the water all you have to do is increase the number of wind speeds.

Once finished playing around with the attributes in the Boss editor a sky dome light was brought in and HDR image was applied to it. This will result in the water to be more visible.
This is because the HDR on the sky dome acts as a reflection creating life like water colour making it look more authentic which is presented form the Figure 8 image from the rendered image.
I then created a square poly cube and applied a white surface to it. The face of cube was then extruded before placing the water in that particular area. This created a simulated pool effect.

Fantasy - portal effect

For this portal creating I started by adding in a circle from the curves/surfaces menu.

Once it was added I clicked on the circle and went to Nparticles - emit form objects - create.
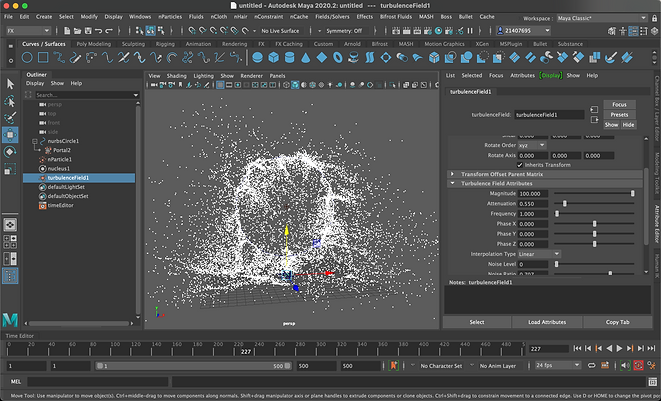
This image shows particles being emitted from the circle.

I then went to the nucleus within the attribute editor and changed the gravity as well as the speed and amount of particles emitted. I also clicked on use plane preventing the particles form falling through.
After that I went to field solvers and clicked on turbulence. This created a swirl type effect on the particles.


From the Turbulence field attributes to create a better portal like effect by changing the magnitude and other turbulence attributes.
Once i was content with the portal effect after adjusting the attributes, colour was added to the particles.

Area lights were added to the scene as it was ready to be rendered.

Surreal - human hologram

I imported in a character mesh from the content browser biped section within maya. This character will be the base body for the hologram.
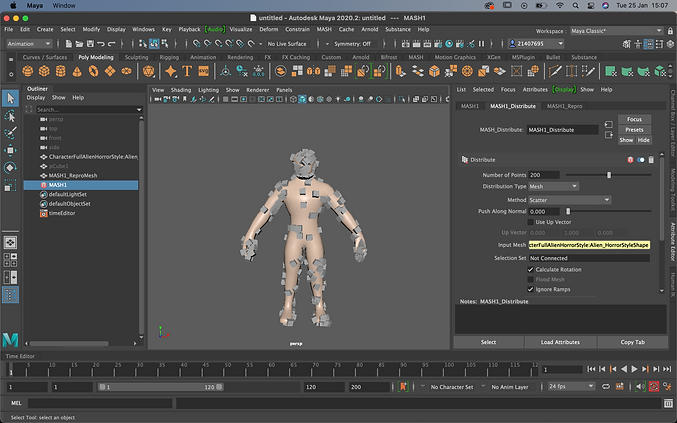
I then created a mash network after selecting MASH with the character as the input. Once the character was connected with the mash I increase the mount of points from the attribute editor.


A signal mash was added with the type being curl noise. This allowed the Mash to move/float around starting to create that hologram effect.
Within the Mash trails section I increased the attributes trails, length and scale. This created a better holographic effect on the character model better conveying the body.
I also changed the colour to red by assigning a new material to the Mash.
Rendered image
