Digital Toolbox
Week 1, Introduction to Photoshop
Stone Henge background change
.jpg)


To change the sky background into the stormy sky as shown in the images above I simply had to replace the current sky from the original stone henge picture into the stormy sky. The quick selection tool and then clicking the mask was used to perform this effect.
Week 2 - green screen and photoshop brushes
Photoshop brushes and green screen background change


The next task I had to perform on photoshop was to change the green screen background resulting in the lady to have a sky background instead.
Transforming an abondoned building on photoshop


I used the magic wand tool to get rid of the original background and then replace it with the thunderstorm background. I then an image of an old house and put it on the build to give it apocalyptic look.
Week 3 - Fake news and using Maya
My personal fake news creation on photoshop


The first two images above are the two main images i used to create my fake news. The first image showing the lightning storm is the image i want to use for my new background. To do this i simply had to use the quick selection and magic wand tool to separate the pyramids from the original background.

Once that was separated i then moved the lighting image behind the pyramid and used mask to set it as the background.

I then added three images of ufos from google images and made it hover above each of the pyramids to create the fake news effect.
Creating and rendering a spaceship in Maya.
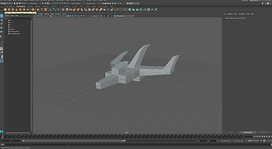


This spaceship was created by simply extruding the cube from different faces. Once I created a spaceship shape i added in a sky dome light and changed the background. I used the chrome colour for the spaceship and rendered the spaceship as shown above.
Week 4 - Kettle creation
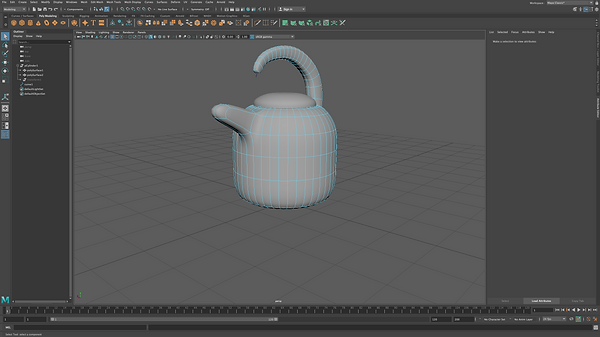
Creating this kettle in class aloud us to practice our modelling techniques when needing to create a gadget.

Week 5 - modelling and render techniques.

This is the completed and rendered image of a cup gadget we created in class in preparation for assignment 1.

Assignment 1 - Gadget creation on Maya

I firstly had to create the object that my gadget will be and as shown in the image i create a TV. I created this by using the polygon cube and simply scaling and extruding it to create the TV shape.

I then had to make it an actual gadget so i created the robot arms/guns and attached it to the TV. This was also created be me mainly extruding and using the scale tool. once the arm was created i duplicated it to create the other arm and also for the fingers.

I had to then add the polygon plane and a skydome light for it to be rendered properly. Before that however i added a background and colour to my gadget through the Arnold shader to give it a better effect.

When the colour and background was fully finished i clicked render and it fully rendered my bond gadget as shown in the image above.

This is my fully rendered side view of the bond gadget through arnold render.

This is my fully rendered back view of the bond gadget through arnold render.
Weak 11 -Texturing


Once i created the wall shape I had to then create a brick wall. The brick wall texture was then downloaded and applied to the standard surface of the cuboid shape created.
Once that was done I had to use the UV editor to put everything in place as the brick texture appeared too large on the surface.

This was my final image of the brick wall created.
New York rooftops plan/image reference


Week 12 - Further texturing


Assignment 2 -New York rooftops and Time Leap.
New York Rooftops creation

This is my completed creation of the New York rooftops in Maya.
This is the wirefame image model of my creation of the New York rooftops.

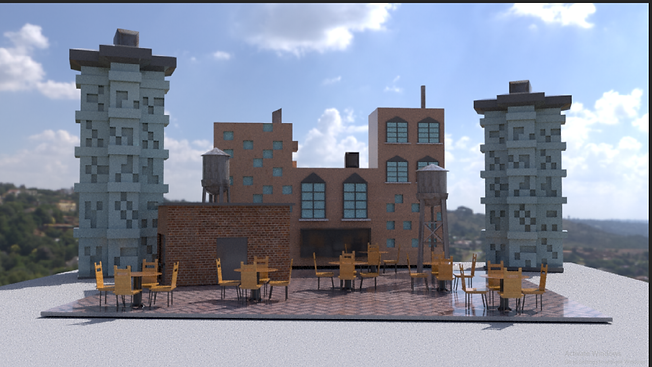
This is the front view image of my fully rendered New York rooftops.

This is the side view image of my fully rendered New York rooftops.
Time leap creation.

This is my creation of the time leap where i decided to create a futuristic city.
This is another image of my futuristic time leap creation in wireframe mode.


This is the side view image of my time leap creation fully rendered.

This is the front view image of my time leap creation fully rendered.