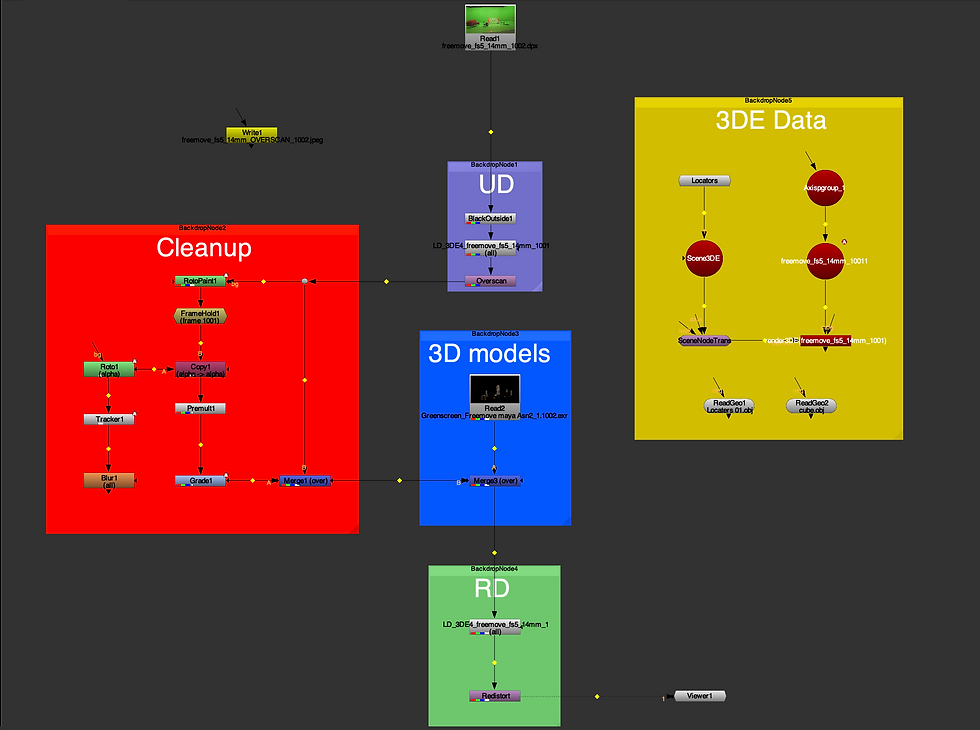
3D Matchmoving
Introduction to the camera in nuke

Within this lesson we learned about the camera and the 3D area space in nuke. I began by switching the area from 2D space to 3D space. Once I was in the 3D space I brought in a cylinder and attached it to the viewer.
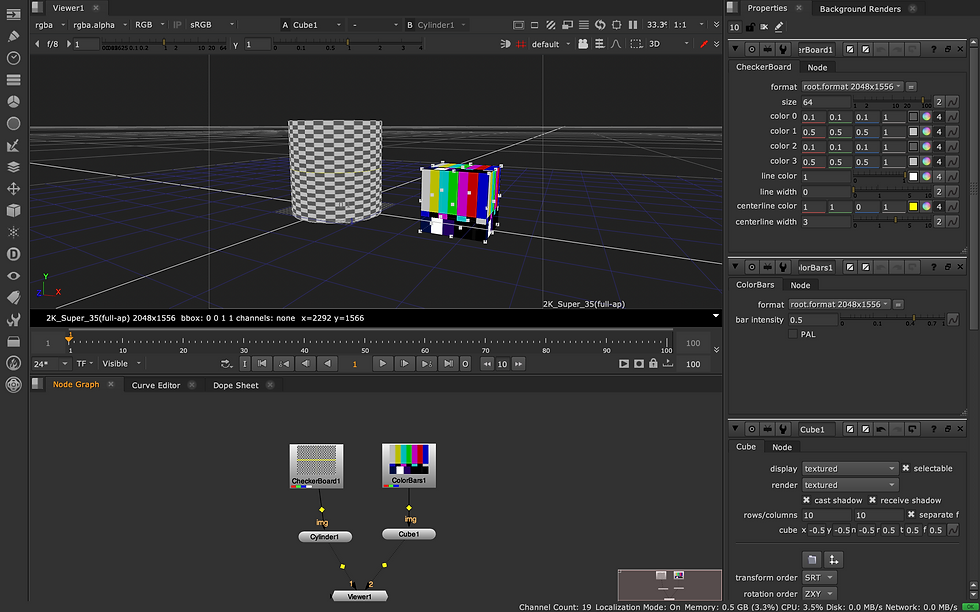
A cube was also brought in with the 'ColourBoard' being applied to the cylinder and the 'ColorBars' being applied to the cube.

The Scene node was brought in connected to the cylinder and the cube through the viewer.

Adding the Scene allowed me to view the two shapes through the 2D as shown in the image above.

The 'Scanline Render' node was added attaching it to the scene.
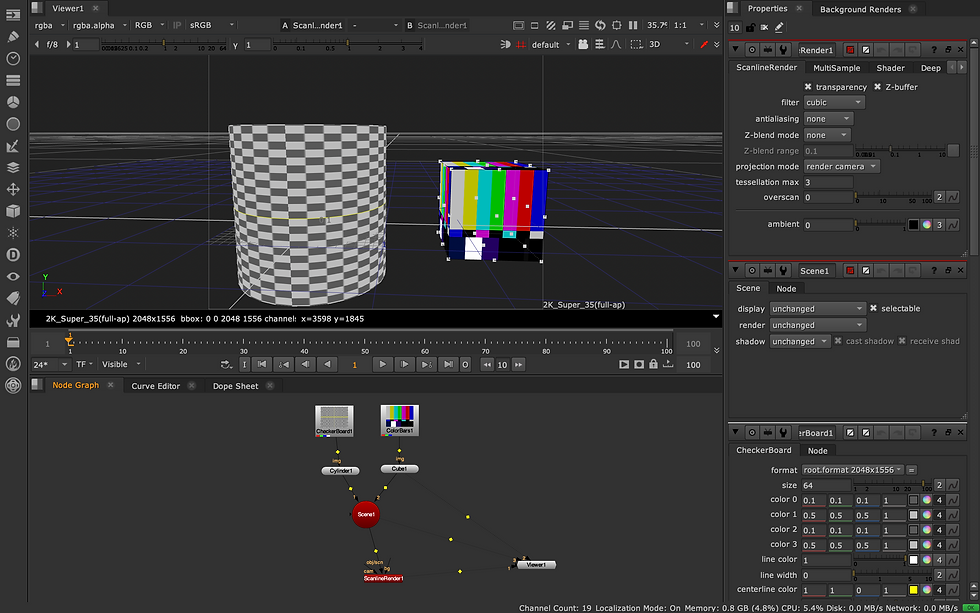
This will allow the objects in the scene to be rendered and this will be shown through the perspective of the camera once connected.

The camera was now brought into the scene and this is shown in the 3D space. The camera allowed me to record the two shapes from different angles in the 3D space.
The video is a short animation of a recording of the shapes using the camera in nuke.
Tunnel camera projection

The next task was to use the camera to make it look like someone was walking into a tunnel. I began by importing the tunnel file into nuke and the render cam node.
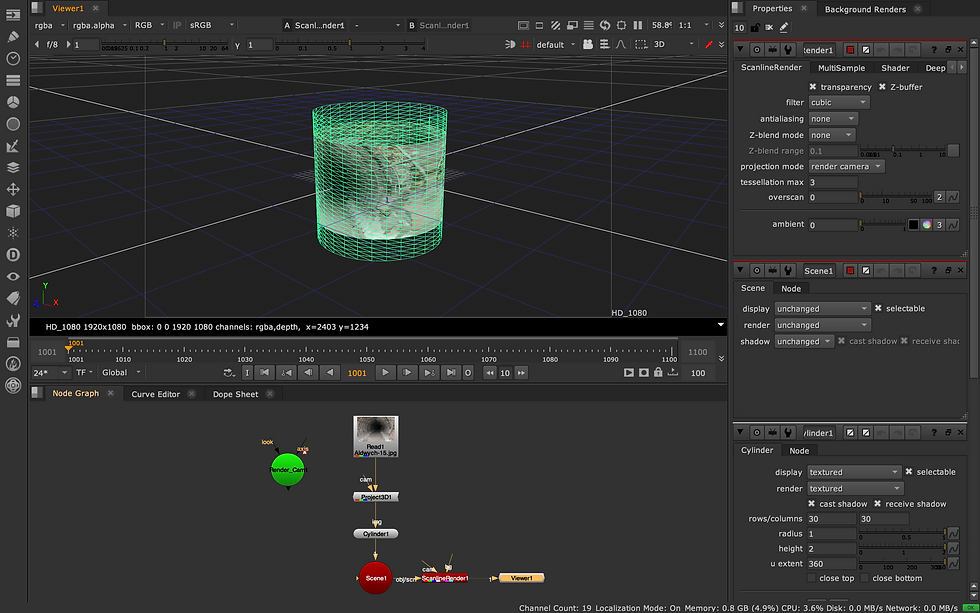
Within the 3D space I brought in a cylinder along with nodes combining the tunnel image onto the surface of the cylinder.
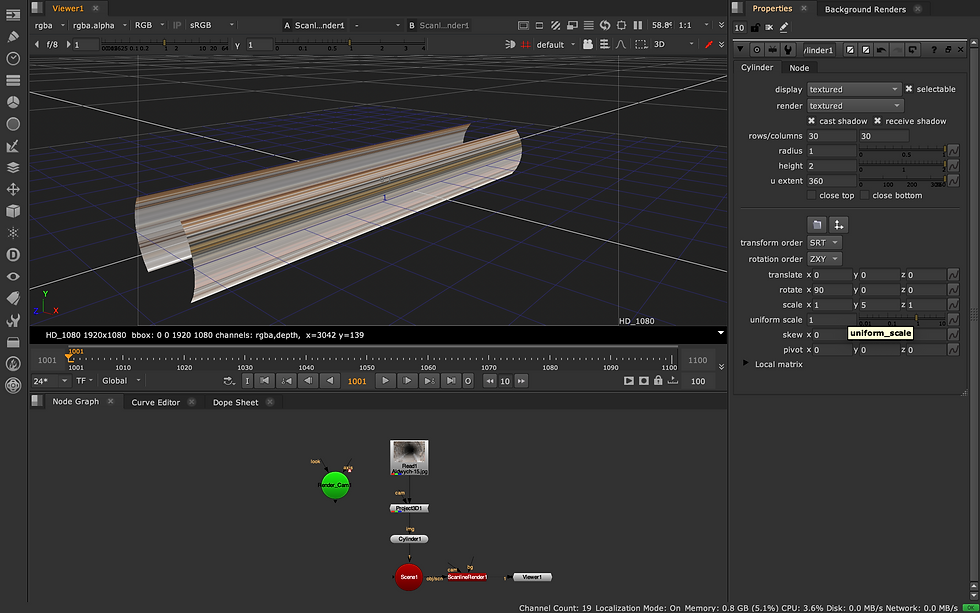
I then changed the attributes of the cylinder increasing its width.

A second camera was now brought in which was named project cam. This was attached to the project 3D.

This is all the connected nodes used creating the illusion of entering and walking through a tunnel.
Introduction to 3D Equalizer

I opened 3D equaliser and brought in the video footage.
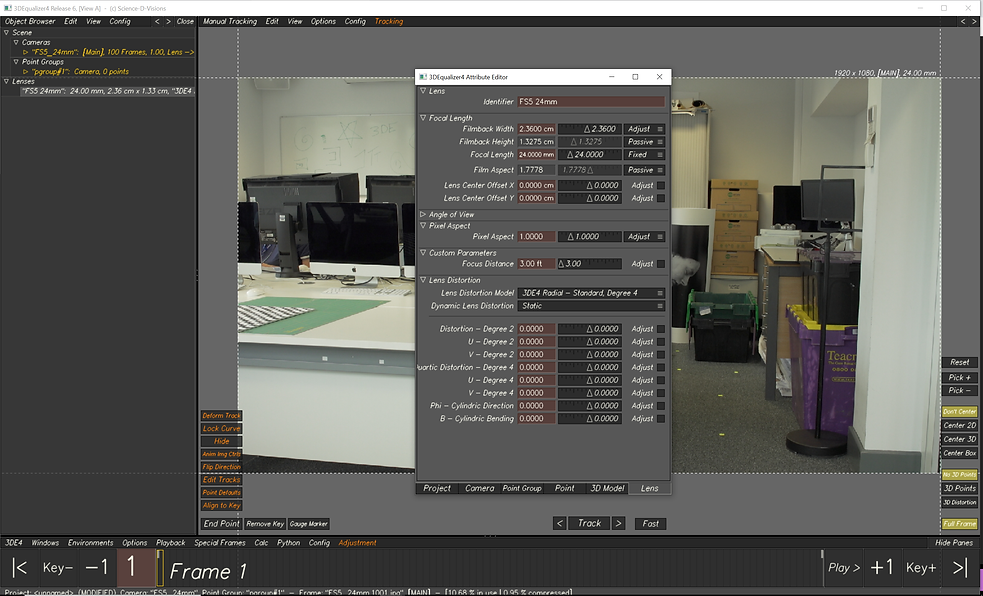
I got used to the new interface in 3D Equalizer and used the attribute editor to change the identifier of the camera lens. I also created keyboard shortcuts to make it easier to get by in the software.


I then began to track a range of areas in the scene . To do this I had to press the ctrl key on the part I want to track and then press G to gauge it.

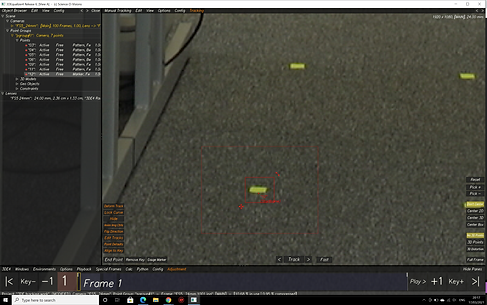
Once I tracked and Gauged the area I wanted I pressed T and it fully tracked the scene through the timeline.

All the red markers shown in this scene are all the areas I have tracked in 3D equalizer. The graph above is the deviation browser and this allows me knoww how well the objects have been tracked.
Lenses and camera

In the attribute editor I had to make sure the Identifier, filmback/width and height was the same as the camera's focal length before working on the footage.


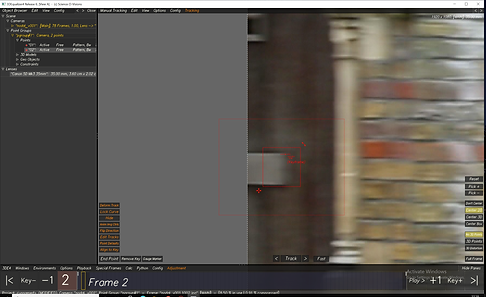
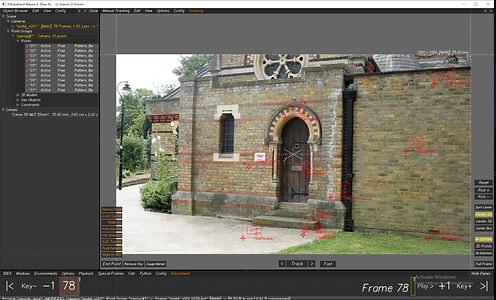
I CTRL clicked my mouse to track various areas in the scene.
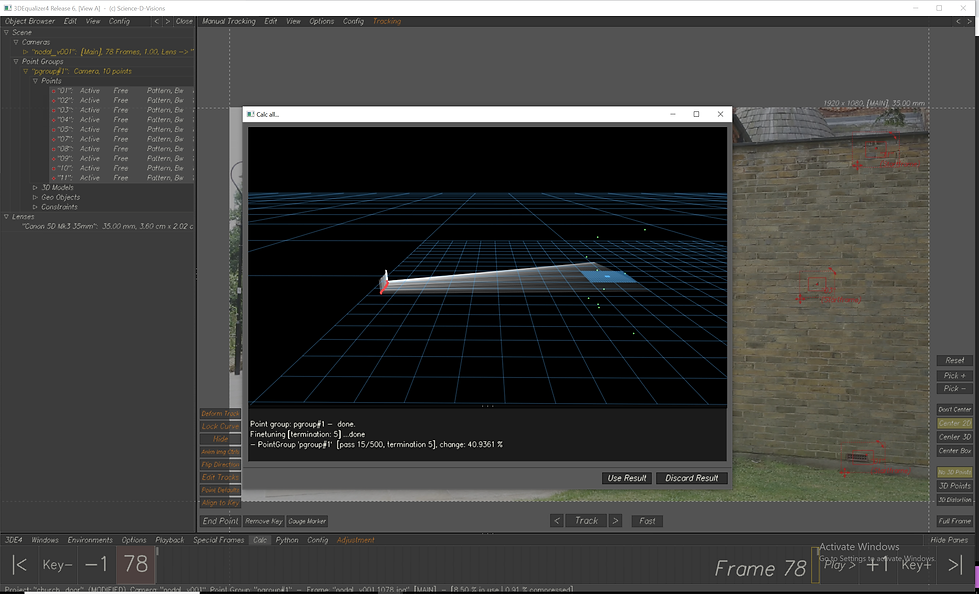
Once I tracked my points I pressed on alt C to see how my points will lay in the deviation.

My deviation was between 0 and 3 but I would ideally like it to be between 0 and 1 so I tracked a little bit more areas in the scene.

I clicked on calc all again to lower my deviation and getting a better result for the tracking.
Assignment 1

I began by importing the pillars table 'freemove file into 3D equalizer.'


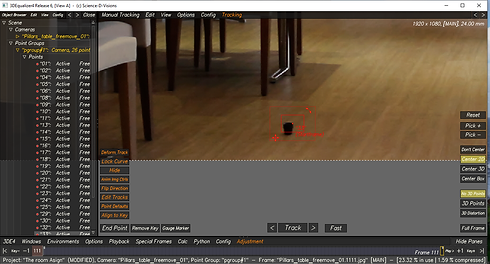


The images above show the tracking of various areas within the scene. This was done by clicking ctrl click.
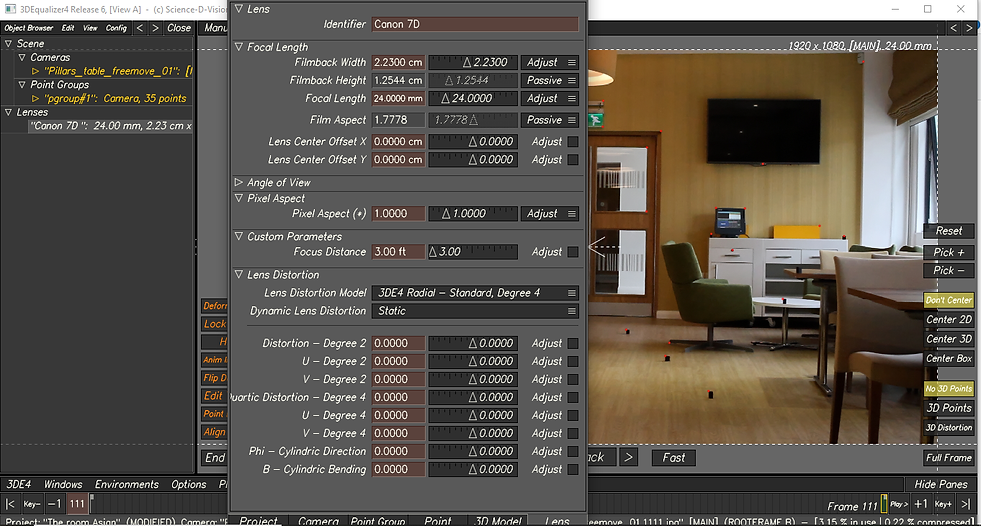
I went into the Lenses panel and adjusted the identifier and the filmback width. This information i used was from the survey data.

Once all my points was tracked I went to 'calc all' and clicked on 'use result' to see the accuracy of my points.

The deviation browser above showed that the placing of the tracking points landed between 0 and 1. This was also checked in the line-up view.
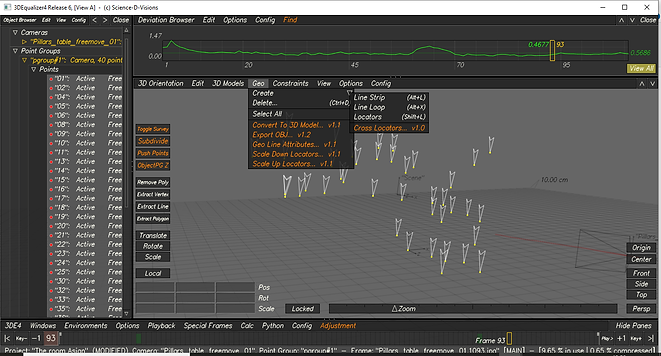
From the 3D models menu I then brough in a cylinder. This video shows me snapping the cyclinder to a particular point.
I also rotated and resized the cylinder make it rotated sit properly on the surface
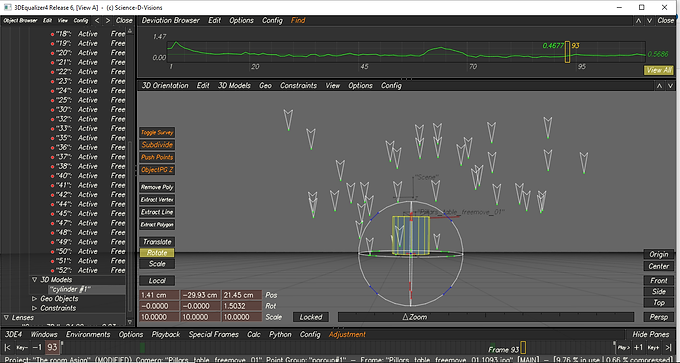
With all my points tracked, located and adjusted I went into edit and clicked on 'bake scene.' I was now able export my points and data from 3DE into Nuke.

All the data i saved and exported from 3d equalizer was now brought into nuke. From the 3D section my locaters, points and cylinder are easily viewable in the scene.

Once the data was brout into nuke I brought in the 'BlackOutside' node creating a border when attached to the scene. I also brought in the reformat node which was the overscan. This was my Undistort section.
I then created the Redistort section with the reformat node attached to the scene to bring it to its original size removing the border.
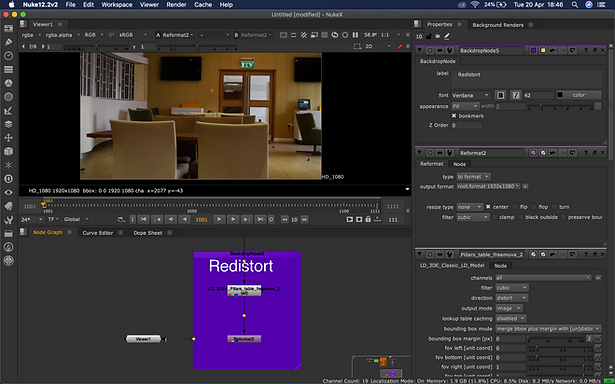

With my geo nodes connected to the scene, 'Scanline render' and 'Camera' it was now available to show on my scene through the 2D space

I changed the colour of the markers to red with a Constant attached. I also attached the wireframe node to the cylinder.

I now had to get rid of the exit logo so I began by bringing in the FrameHold node.
It was then attached to a copy and roto node and I used the b-spline tool to roto around the sign.

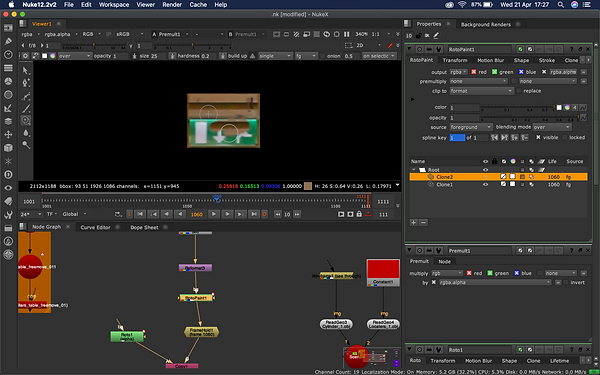
Once the sign was roto'ed out of the scene I used the clone tool to rub out the exit logo.
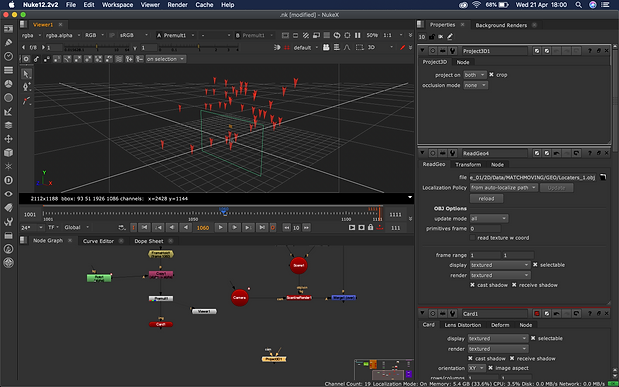
I Brought in the card node which was visible in the 3D view after resized.
The card was then projected in the area where the exit sign was aligned with the markers.


Assignment 2

I began by bringing the chosen filmed footage into 3D Equalizer. Within the Attribute editor I changed the Identifier, filmback width and height to fit my scene.


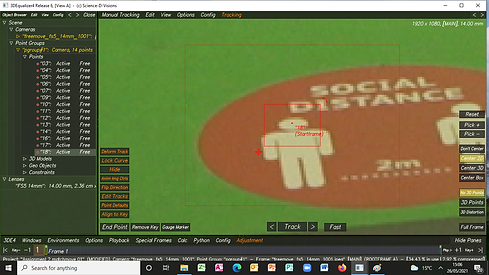


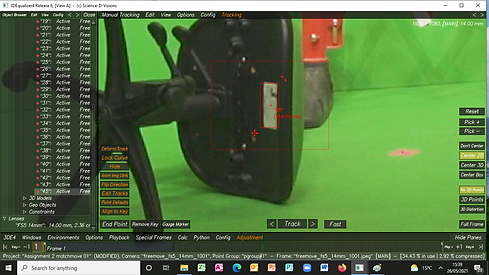
I was now ready to track so I pressed CTRL click to track various points in my scene.
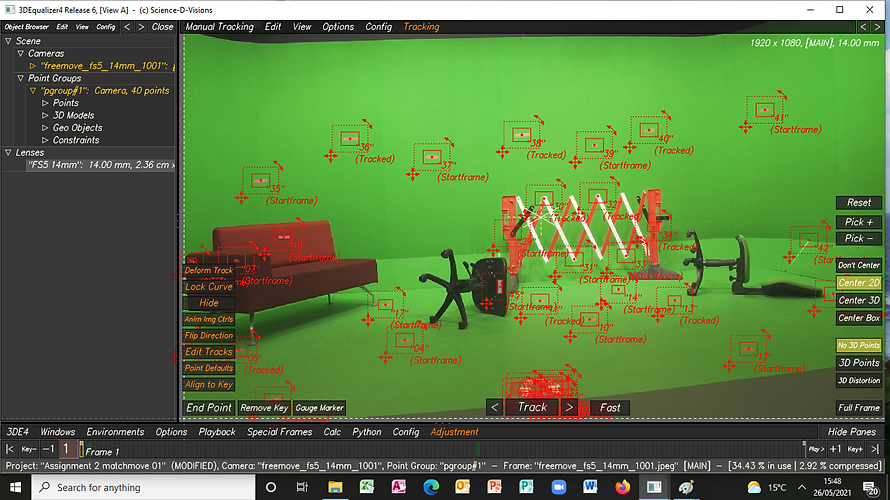
This is all 40 points tracked in 3D Equalizer.
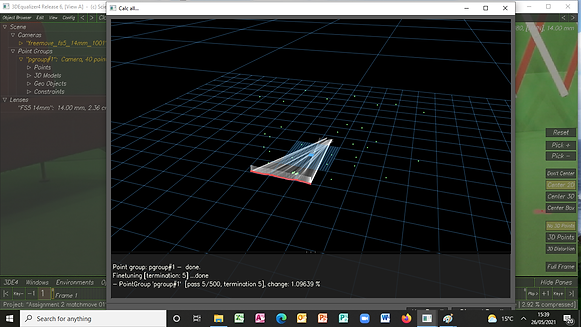
Once all my scenes were tracked I pressed alt C to Calc all. When checked my deviation landed between 0 and 1 which was a good deviation.
I then opened the Parameter adjustment menu and clicked on Adjust this lowered m deviation from 1 to 0.


Within the 3D orientation I wanted to see how an object will fit in my seen so I set one of my points tracked to be a the point of origin for my models to land on for later on.

I then went into my Lineup View to see if the cube I brought in was successfully placed on the origin.

Locaters was also brought into the scene and after that I baked the scene. Once that was done I was ready to export this and put it in maya.

Once in and imported into maya, I had to go to the image plane and edit the size to make sure my points landed on the markers as they were slightly of when exported in.
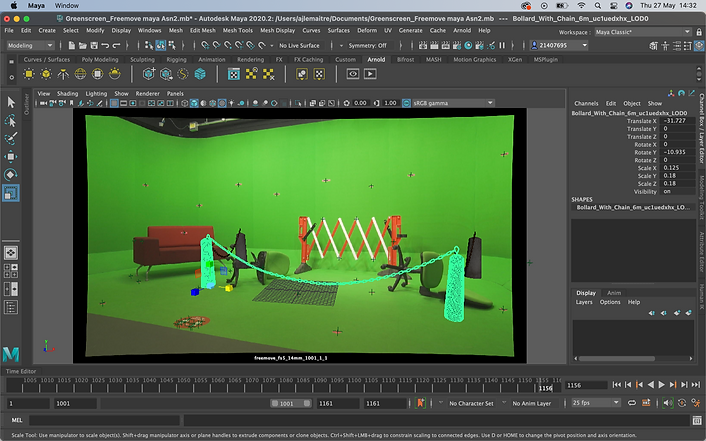
I got some 3D assets from bridge and began to populate my scene. This image shows me adding in some bullards and connecting them.

I also added a broken statue, workbench and tools as I wanted to create a 'no zone' area which was currently cordoned off as a result of vandalism and damage of property.

The scene now had to be rendered so I brought in a sky-dome light along with an area light to render the sequence to bring it into nuke.
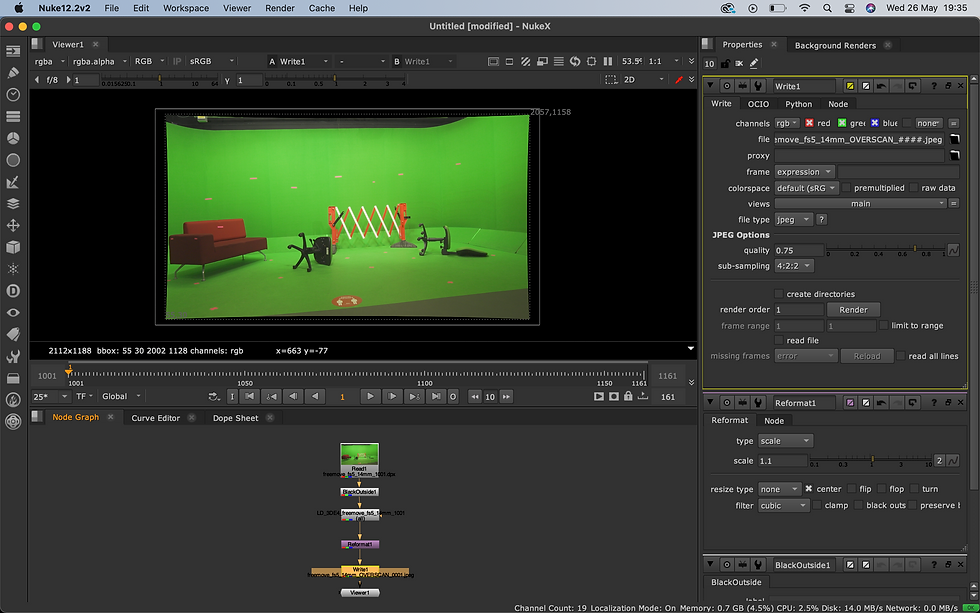
I opened nuke and brought in the filmed footage.I created an undistort section by adding a BlackOutside node, ld and reformat.
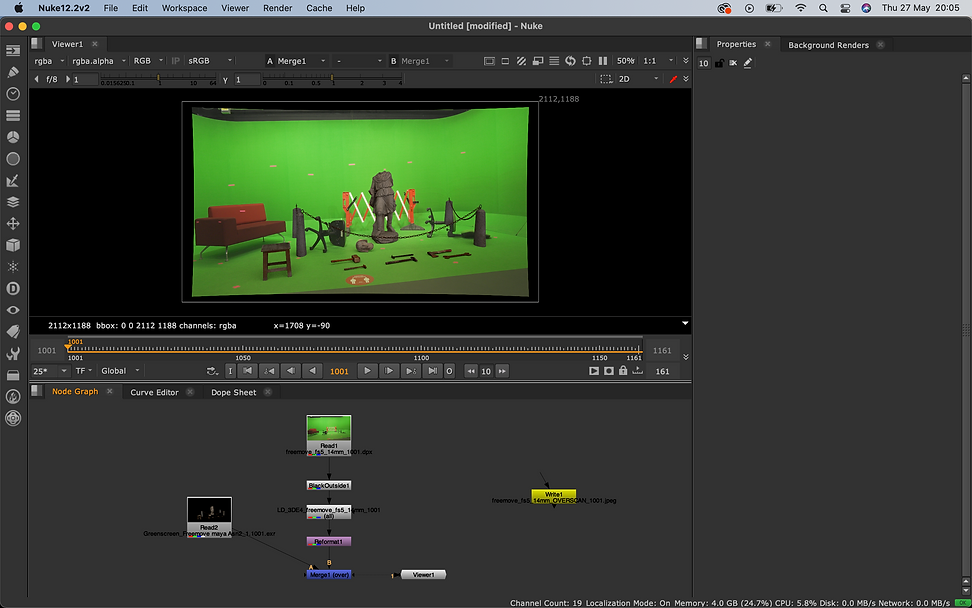
My rendered maya sequence was imported into nuke and attached to the merge node which was presented through the viewer and added with the footage.
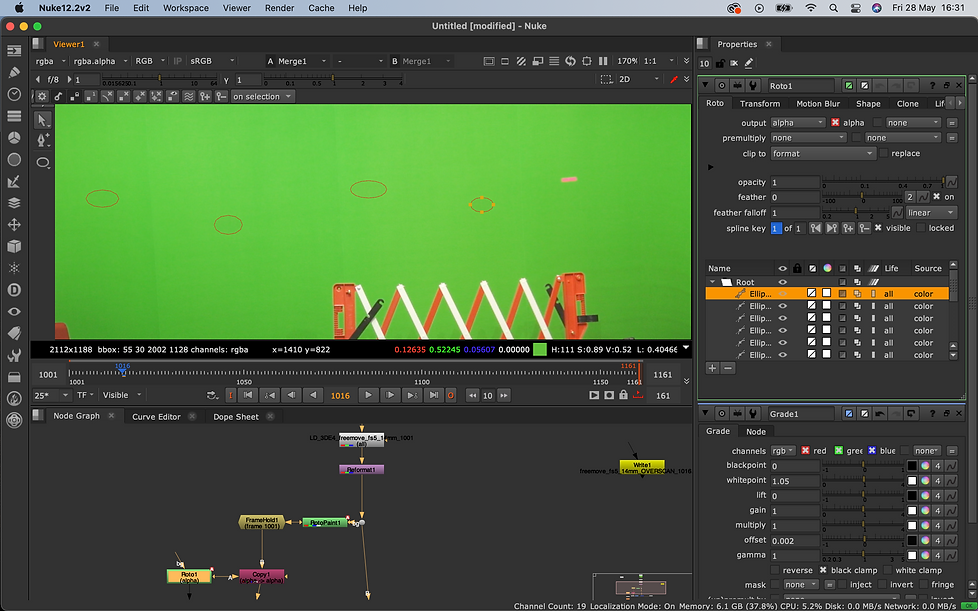
I wanted to remove some of the markers in the background so I brought in the rotopaint and attached it to a FrameHold, a copy node and the premult. I roto'ed out the back markers by using the clone tool.
However once playing the clip, the roto area wasn't staying on the markers so I had to bring in a tracker and attach it to the roto so it covers the tracker a bit better.
